Account Matching During Data Entry
This document shows how to match accounts when
entering new accounts in Collect!.
 Please visit the Account Matching Setup form
before proceeding and make sure you are satisfied with
the selections chosen. When you match accounts
Collect! sets Debtor Group Member information according
to the values selected in Account Matching Setup.
Please visit the Account Matching Setup form
before proceeding and make sure you are satisfied with
the selections chosen. When you match accounts
Collect! sets Debtor Group Member information according
to the values selected in Account Matching Setup.
Use one of the methods described in Accessing Debtor
to open a new blank Debtor form. Type in the debtor's
Name.
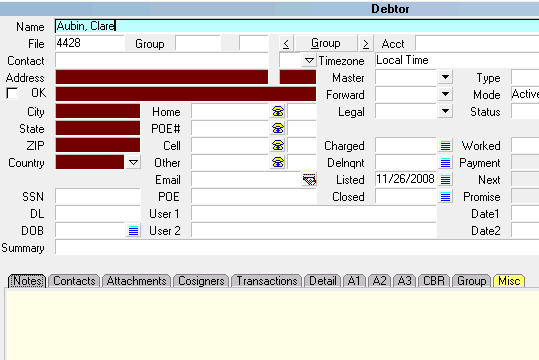
Debtor's Name Entered
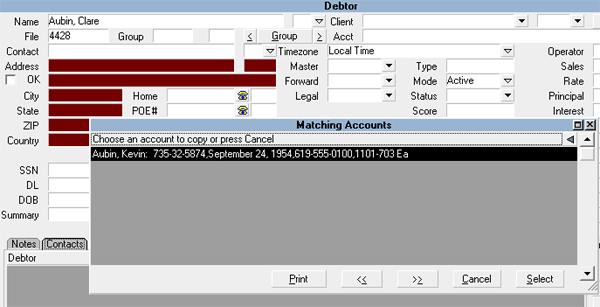
Attempt to leave the Name field by using the Tab key, selecting
the Enter key, or selecting the next field with your mouse.
If Collect! finds any close matches for the name you just
entered, you will be presented with a list. Select the account
that you want to group your new account to. You may
select the account with your mouse. If the account is already
highlighted, you may select the Enter key or press the Select
button.
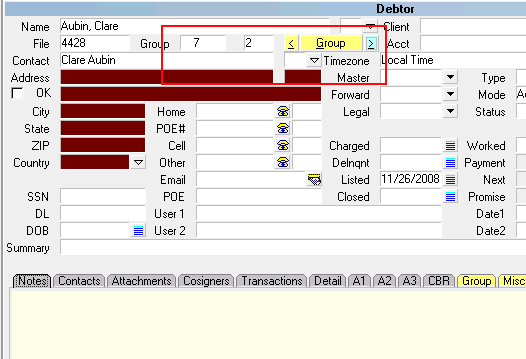
Selecting Group Accounts Together
You are returned to the Debtor form for the new account.
Select the arrows next to the GROUP button and you will
notice that this account is now part of a group.
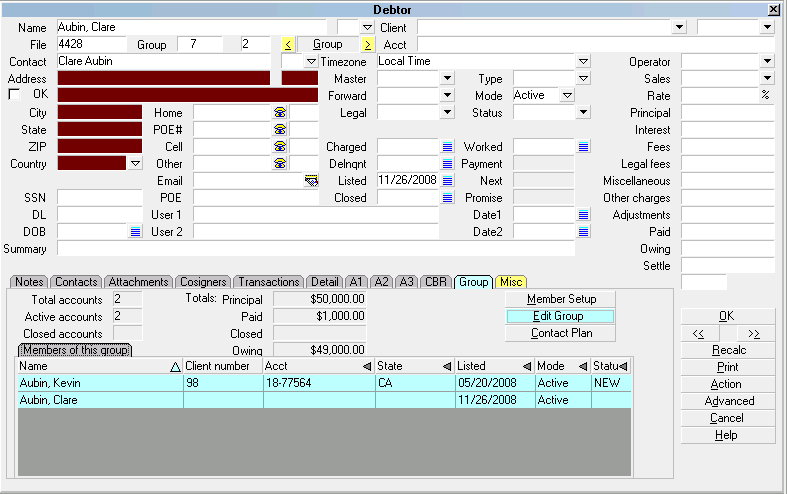
Debtor Group Button Highlighted
You may use the arrows next to the Group button to view other
members in this group. Select the Group button to view the list
of Group Members.

Matching Accounts/Group Members
Some data on these accounts may be the same, depending on
your choices in the Account Matching Setup form.
Select the Close button to return to the Debtor form.
| 
Was this page helpful? Do you have any comments on this document? Can we make it better? If so how may we improve this page.
Please click this link to send us your comments: helpinfo@collect.org