Crystal Reports
Open Database Connectivity enables you to use your Collect!
data with many third party utilities. This document introduces
connecting to Collect! through Crystal Reports.
 Implementation of data source connections is
specific to different versions of Crystal Reports. We have
used Crystal Reports 2008 for this example.
Implementation of data source connections is
specific to different versions of Crystal Reports. We have
used Crystal Reports 2008 for this example.
We will cover:
- Installing ODBC Drivers
- Configuring the Data Source
- Creating a Connection in Crystal Reports
- Viewing Results
- Designing Your Report
This topic is meant to help you set up your
ODBC connection in Crystal Reports. How to Use Crystal
Reports for creating reports is beyond the scope of this topic.
Installing ODBC Drivers
Collect! ships with ODBC drivers for accessing the
underlying Raima database. Bypassing the Collect! interface,
this enables a third party program to talk directly to
the CV11 Server using ODBC.
The easiest way to install the ODBC Drivers is using
the CV11Client install on the machine where Crystal Reports
is installed. This does NOT have to be the machine where
your CV11 Server is running.
Please refer to Help topic, Installing ODBC Drivers for CV11.
This topic will give you complete steps for installing the
ODBC drivers and creating the RDS data source.

Configuring The Data Source
Once you have created the data source, RDS, we need
to configure it for Crystal Reports.
The ODBC drivers shipped with Collect! are 32
bit drivers. If you are using Windows 7, after you create your
ODBC data source, you do not see the RDS DSNs in the 64 bit
ODBC Data Source Administrator. You will need to open the 32
bit ODBC Data Source Administrator from the Windows\SysWOW64
folder. It is called odbcad32.exe and when you open it, you will
see the RDS DSNs.
Once you have opened the ODBC Data Source Administrator,
we need to edit the DSNs for RDS.
To edit the RDS User DSN:
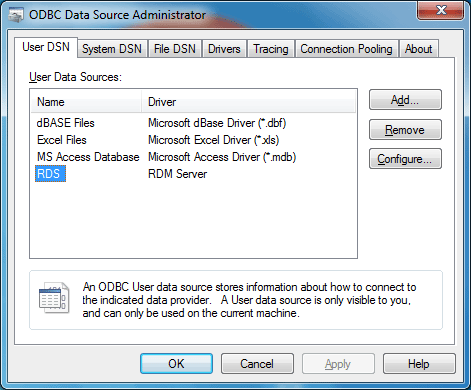
RDS User DSN
1. Select the CONFIGURE button.
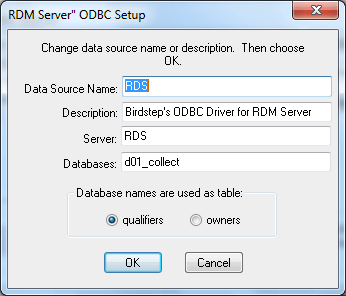
RDS User DSN Configuration
2. Enter the name of the Collect! database that you want to
access. Typically, this is d00_collect.
3. By default the "Database names are used as table"
setting is "owners." This MUST be changed to "qualifiers"
or you will not be able to drill down into the each table's
fields when you do your set up in Crystal Reports.
To edit the RDS System DSN:
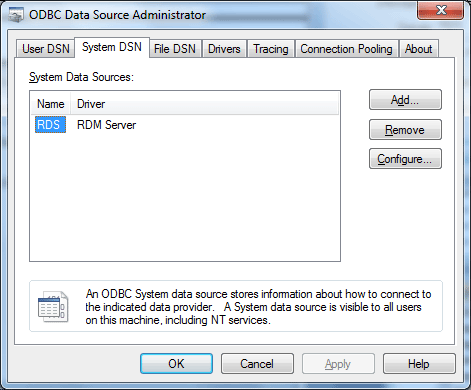
RDS System DSN
1. Select the CONFIGURE button.
RDS System DSN Configuration
2. Enter the name of the SAME Collect! database that you
entered above. Typically, this is d00_collect.
3. By default the "Database names are used as table"
setting is "owners." This MUST be changed to "qualifiers"
or you will not be able to drill down into the each table's
fields when you do your set up in Crystal Reports.
Creating A Connection In Crystal Reports
Now that the ODBC data source is configured correctly,
open Crystal Reports and select Blank Report.
These steps are for Crystal Reports 2008.
Earlier versions of Crystal Reports may have different
set up screens.
1. When Database Expert is displayed, double-click
on "Create New Connection."
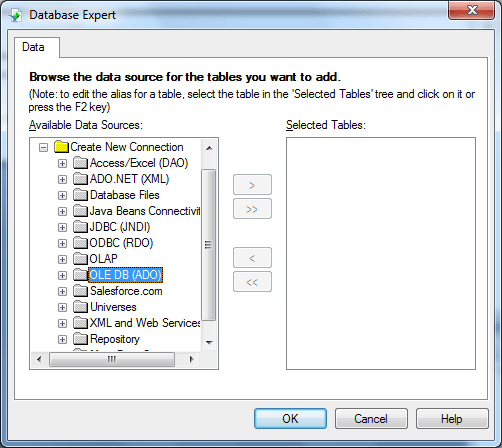
Database Expert
2. Double-click on "OLE DB." Select Microsoft OLE Provider
for ODBC Drivers. Then select NEXT.
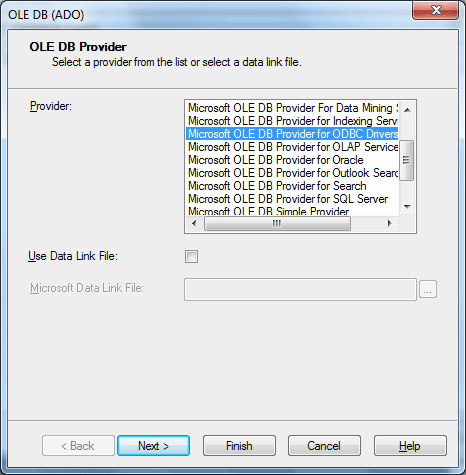
OLE DB Provider
3. Select RDS from the list.
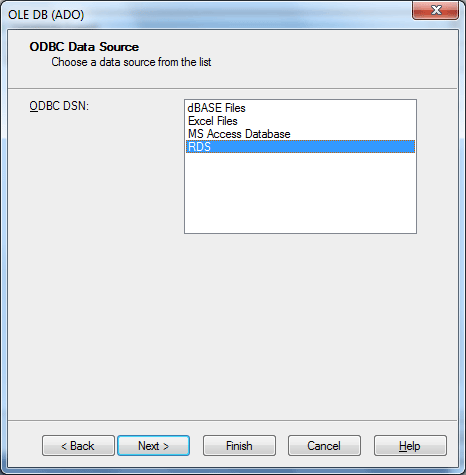
ODBC Data Source
4. Select NEXT.
5. Enter User ID admin and
Password secret. You will see all
of Collect!'s databases in the drop-down choices for
Database.
6. Select the SAME database that you entered when you
configured the RDS data source earlier in these steps.
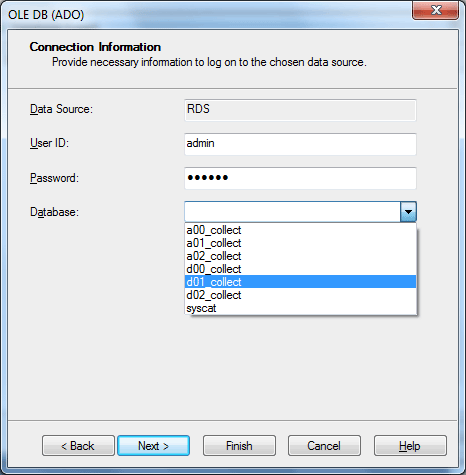
Connection Information
7. Select NEXT.
You can set up time outs and other setting in the
Advanced Information form. We have left the defaults for
our example.
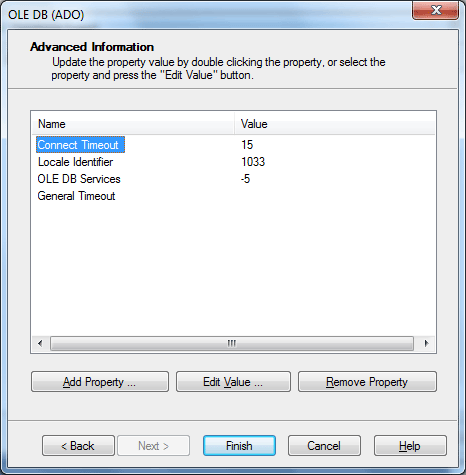
Advanced Information
8. Select FINISH.
ODBC Ini
Crystal Reports creates an odbc.ini file
in the Windows folder. This contains entries for the RDS
data source. Please leave this file in place!
Sample contents of ODBC.INI
[ODBC 32 bit Data Sources]
MS Access Database=Microsoft Access Driver (*.mdb) (32 bit)
Excel Files=Microsoft Excel Driver (*.xls) (32 bit)
dBASE Files=Microsoft dBase Driver (*.dbf) (32 bit)
RDS=RDM Server (32 bit)
[MS Access Database]
Driver32=C:\Windows\system32\odbcjt32.dll
[Excel Files]
Driver32=C:\Windows\system32\odbcjt32.dll
[dBASE Files]
Driver32=C:\Windows\system32\odbcjt32.dll
[RDS]
Driver32=c:\cv116client\bin\codrv32.dll
Viewing Results
Crystal now shows you the new connection and all
the tables in the Qualifiers section.
You can now choose the tables for your report.
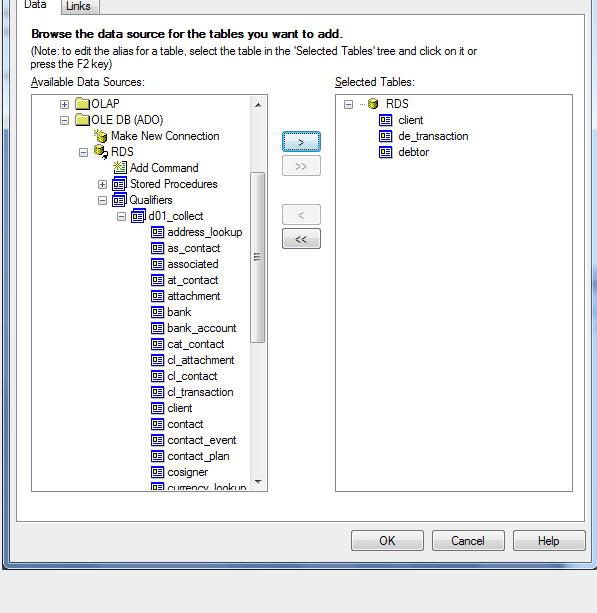
Tables in Collect!
Next, you can select the Links tab and link your tables.
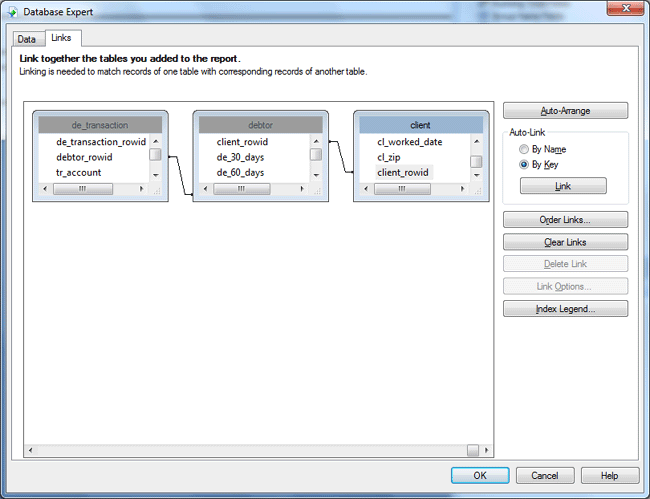
Link Together Tables You Added
Select OK when you are finished.
Designing Your Report
Now you are ready to design your report.
This topic is meant as an introduction.
Please refer to your Crystal Reports documentation for
details regarding creating reports.
When you select Database fields in the Crystal Reports
Field Explorer, you can see each table and expand
them to see the fields.
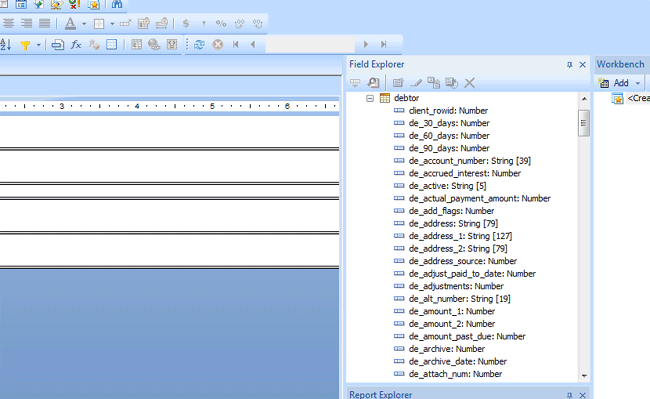
Available Fields from Collect!'s Debtor Table
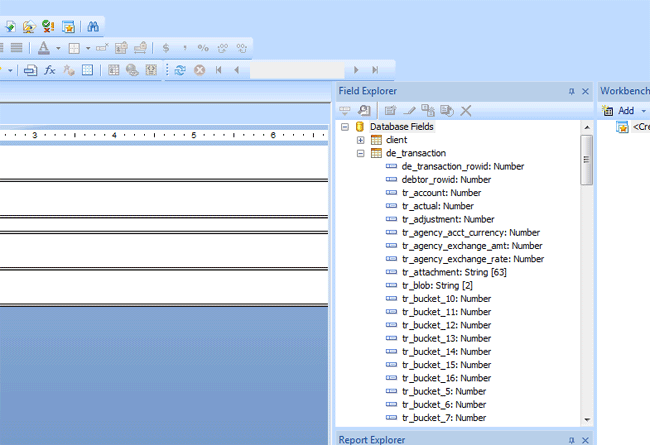
Available Fields from Collect!'s Transaction Table
When you select a field for your report, you can also
browse the field's data. This shows you that Crystal Reports
is now connecting directly to the Raima database and
reading your Collect! account information.
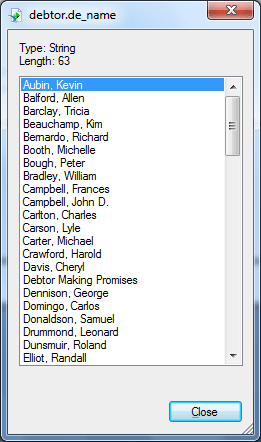
Browse Data on Debtor Name field
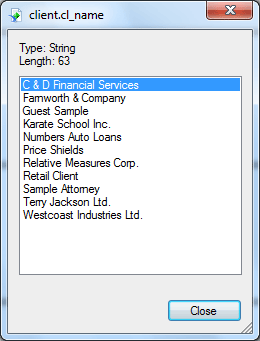
Browse Data on Client Name field
 Field names in the Collect! Database Schema
are not exactly the same as they are in Collect!. What you
are seeing is the actual underlying Schema name for each
field. A complete list of these field names is available to
Collect! Members. You can request the Database Schema
from Collect! Technical Services.
Field names in the Collect! Database Schema
are not exactly the same as they are in Collect!. What you
are seeing is the actual underlying Schema name for each
field. A complete list of these field names is available to
Collect! Members. You can request the Database Schema
from Collect! Technical Services.
Summary
Open Database Connectivity enables you to use your Collect!
data with many third party utilities. This document showed you
how to connect to Collect! through Crystal Reports. The topic
used Crystal Reports 2008 for its demonstration.
We installed the ODBC drivers and created the data source,
opened the ODBC Data Source Administrator and configured
the data source for use with Crystal Reports.
Then we created the connection in Crystal Reports and
showed the results.
For help designing your reports, please refer to your Crystal
Reports documentation.
See Also
- ODBC Topics
|
Was this page helpful? Do you have any comments on this document? Can we make it better? If so how may we improve this page.
Please click this link to send us your comments: helpinfo@collect.org