Troubleshooting Month End
Month End processing is a simple, step by step process.
From time to time, however, problems do occur. Typically, the problems involve:
- the way transactions were posted
- what date selections have been used
- how the client was originally set up
- printing style
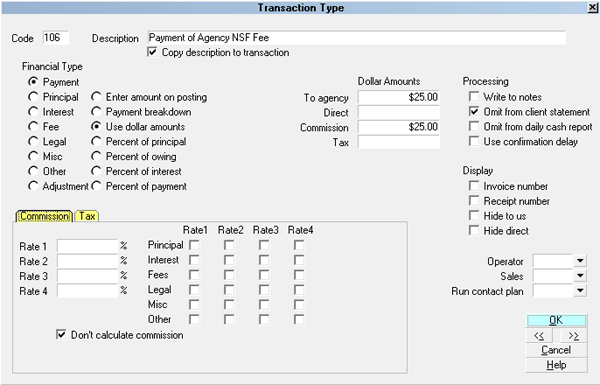
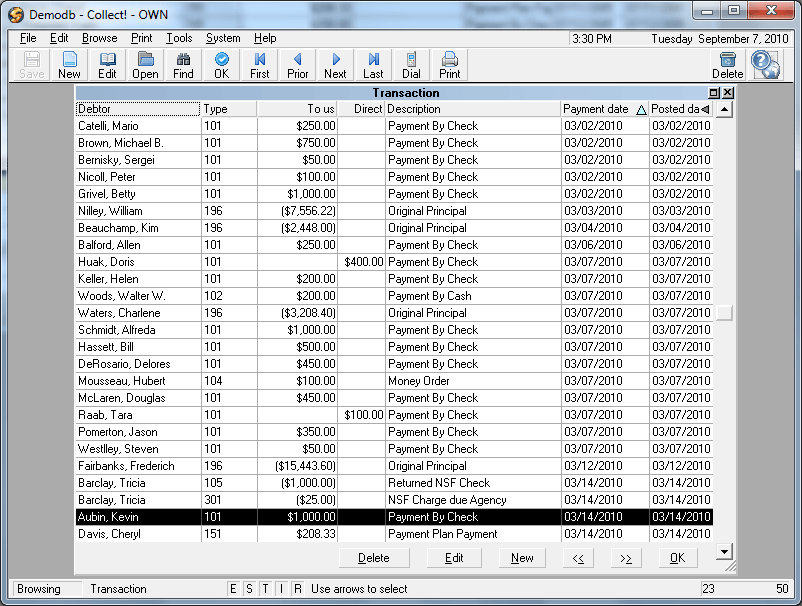
Transaction Types
Before starting to use Collect! you will have set up the Transaction
Types to suit your needs. It is easy to custom design
Transaction Types but you must still be careful and review what you
have posted for accuracy. For example, if you want to charge a fee
to a debtor for an NSF check that you have received, but this need
not be reported to your client you will post two transactions. One to
charge the fee and the second when the fee has been paid. Both
of these Transaction Types must have the reporting flag on 'Omit
from Client Statements'.

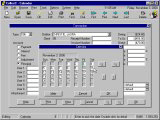
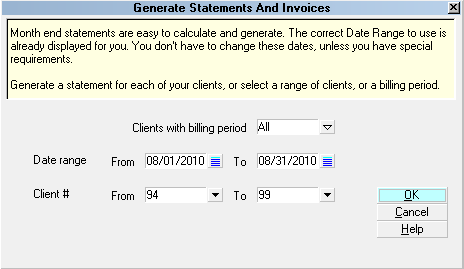
Date Selections
You select the date ranges to generate your statements; typically
from the first day of the month to the last day of the month.
Generated dates are inclusive of all items posted within that
date range.
If you must use date ranges other than the default of first day to
last day, caution must be exercised. Statements generated in this
fashion will always be dated the first day of the next month, (i.e.
Generated June 1 to June 30 = statements dated July 1.) The
next month's statements will be generated for July 1 to July 31
and dated August 1. If you have altered the default settings,(i.e.
June 16 to July 15) please note that statements will be dated
July 16. The next month's statements will be generated July 16
to August 15 and dated August 16.
It is very important not to deviate from this routine of making
the Generated From date the same as the last month's actual
Statement date. If you do not use this routine and miss a day
(i.e. Generate statements for August 15 or August 17,) it is most
likely that you will either have transactions appearing in two months'
statements or not have pulled any outstanding balances due from
your clients into this new statement. If you request Print Statements
and receive a message that there are no statements for that
date range simply browse statements and check the date on the
most recently generated set. The print date is the same as the
actual invoice date. Typically, if you generate statements from
June 1 to June 30 and the statement is actually dated July 1,
the printed date range will also be from and to July 1.
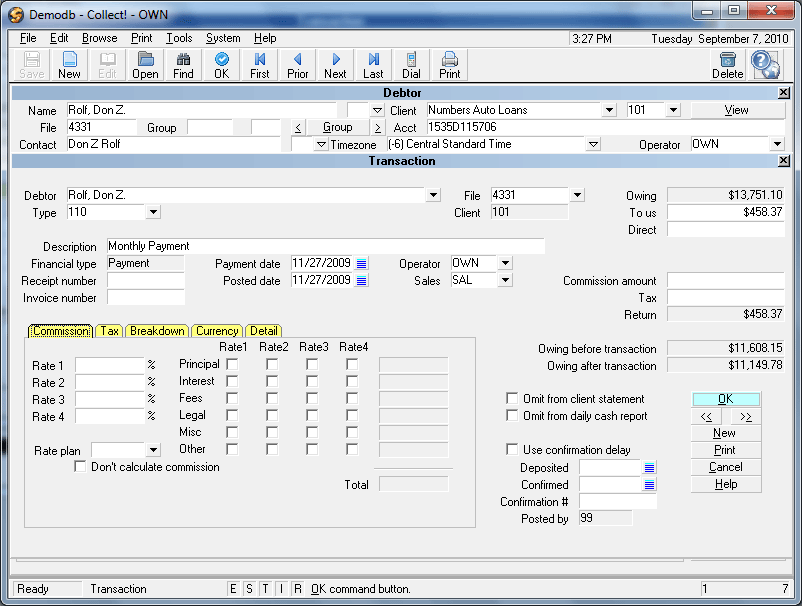
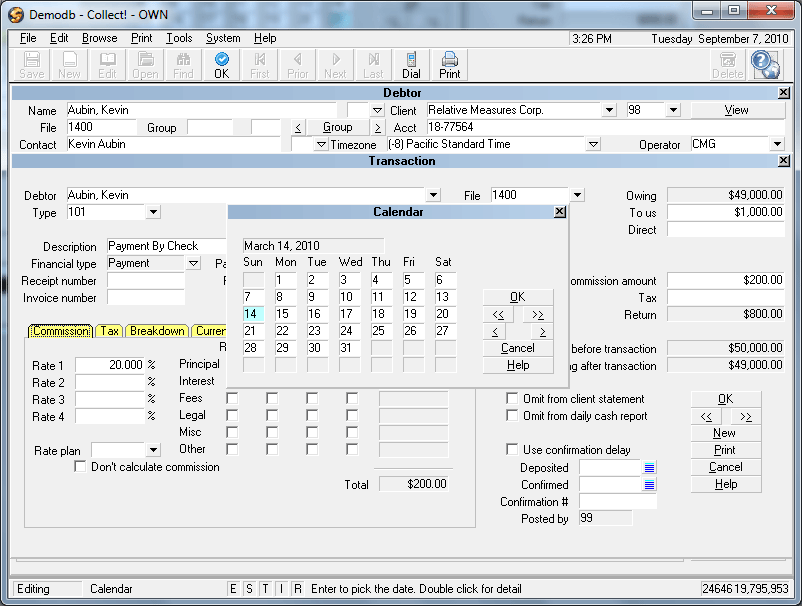
Posting Transactions
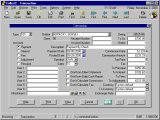
You have many choices as to how each transaction will look.
Direct and To us fields must be selected and the commissions
must be calculated on this form or the appearance on the client
statement will not be correct.
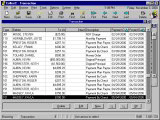
If you feel that a transaction has been posted incorrectly, simply
view the transaction details by browsing the transactions and
making any necessary corrections.
Any transactions posted outside of your chosen range will not
appear on this statement. If you need to change dates on posted
items to reflect on the appropriate statement date range, you
may do so.
If you have made any corrections you must re-generate your
statements. Please see details below when making corrections
to your statements.
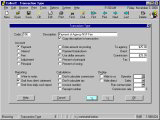
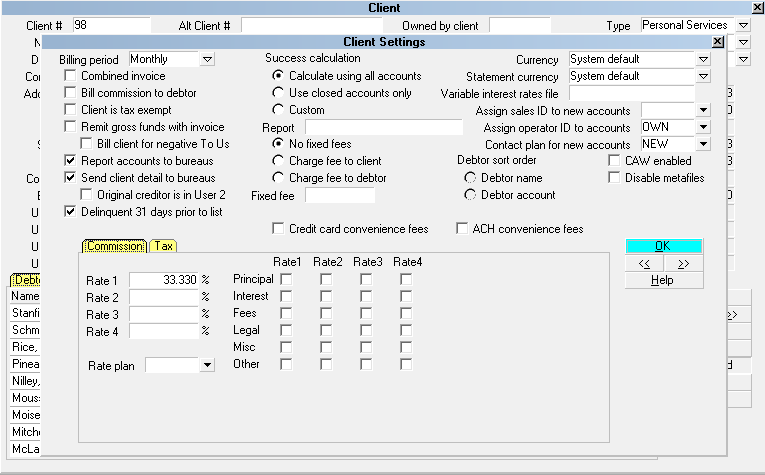
Client Setup
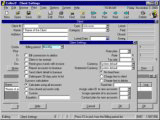
When you enter a new client, it is important to go into the
Settings and choose the billing period, select whether the
client is Net or Gross remit and indicate if you want all transactions
to show on your invoices. Incorrect selections may result in
completely incorrect statements.
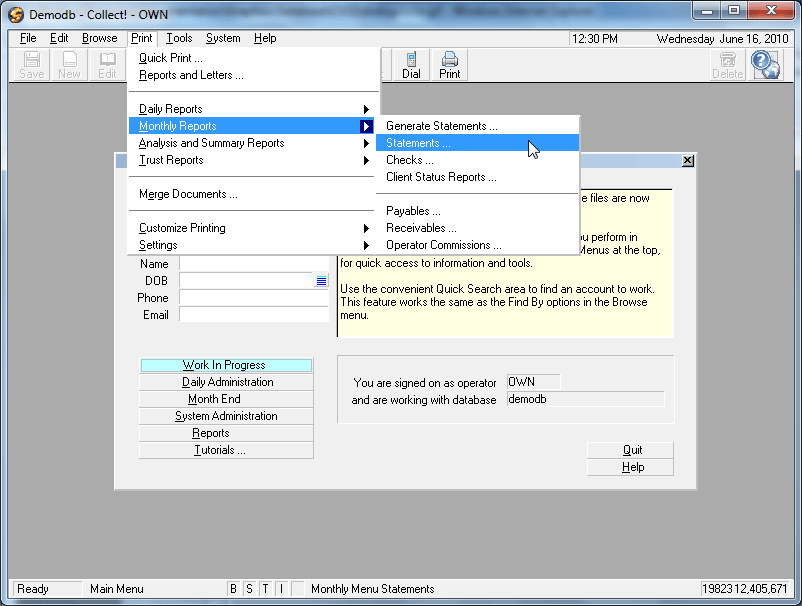
Printing
If you find that your statements have the correct entries, but are
of the wrong style, typically you have simply used an incorrect
template, usually chosen from the Print button on the Invoice Screen.
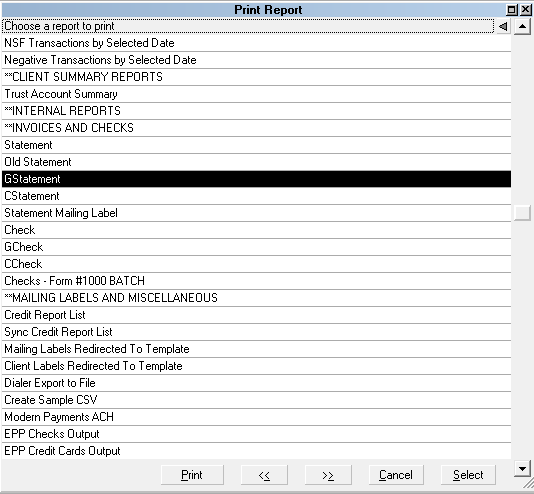
When you print your statements it is best to use the Month End
menu option Print Statements. This ensures that statements
printed correspond to your set up choices for that client
(i.e. gross or net remittance). The menu item is a direct link to
the report template called Statement, GStatement or CStatement.
If you have one client that you use a different template for,
simply pull the generic statement from your printed pile,
then print out using your chosen template. To print one
statement at a time, Browse Statements and open the
statement you need to change.
Click on the Print button on the upper right hand side. You will
see a list of all the available report templates in the statement.
Scroll the list and select the appropriate template name.
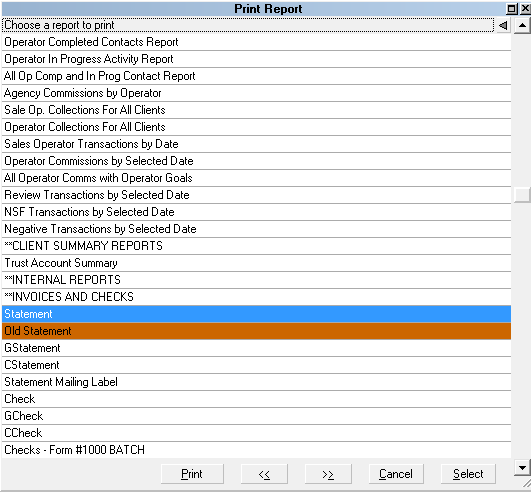
To use a statement template other than the standard form you
must rename the templates. First alter the name of the existing
Statement to something like Old Statement, then name the template
you wish to use Statement. This will ensure that Collect! will print
pulling the correct information when you use the menu choices.
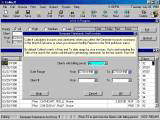
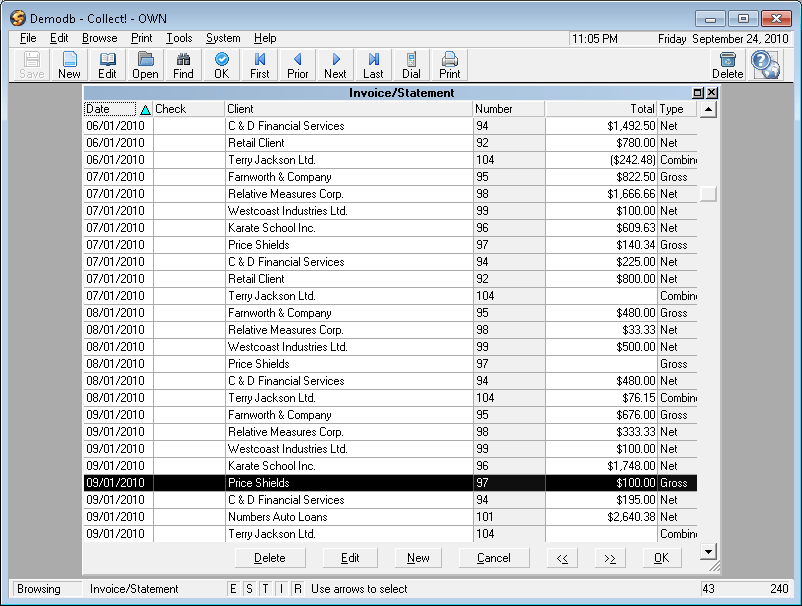
Making Corrections To Your Statements
Collect! is not like an accounting package where cut off is
carved in stone. Collect! is very forgiving. If you make any
changes to the transactions you have posted, you must
generate the statements again. If your changes are on one
client's statement only, it is not necessary to re-generate all
statements. Just select the client in the From and To fields
of the Generate Statements form. The balance of your client
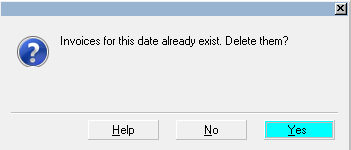
statement list will not be affected. When you request that a
statement be generated again, Collect! will advise you that a
statement already exists for that date range. Do you want to
delete it? You must respond yes to this.
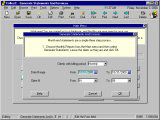
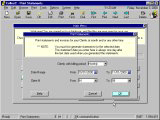
You cannot have two statements for the same client on the
same date range. If the system does not ask you if you wish to
delete, please cancel the operation and double check the dates of
your original statement. The dates of generating statements on
this second try are probably not being selected exactly as
the original.
If you discover that you cannot make changes to a transaction
because it is Read Only, (greyed out), this indicates that you
are using Closed Accounting in Collect! This switch is set in
the Company Details form. When it is switched ON, any
transaction that is referenced in a previously generated statement
cannot be edited or deleted. You must switch OFF 'Closed
Accounting' before you can make changes. With this switch ON,
Collect! will also skip transactions already connected to an invoice
line record, thus preventing a transaction from being on an invoice
more than once.
 To access the Company Details form, select System
from the top menu bar and then select Company Details from
the drop-down choices.
To access the Company Details form, select System
from the top menu bar and then select Company Details from
the drop-down choices.
Technical Notes
If you generate statements and you don't get what you expect,
that is, an invoice created, have your administrator examine
the Application Log for any error messages. When Statement
generation encounters a problem fetching the Debtor, an entry
will be written to the Application Log in the "Financial" section.
You can access the Application Log from the
System menu, Diagnostics.
If you see an error "fetching Debtor via UID," please ensure
that your database is in good working order by running a
maintenance and also perform an UID check. Both of these
functions are available through File, Maintenance.
See Also
- Month End Process
| 


Was this page helpful? Do you have any comments on this document? Can we make it better? If so how may we improve this page.
Please click this link to send us your comments: helpinfo@collect.org