How To Import Contact Plans
This topic gives you the steps to import a contact plan into your database. Importing a contact plan
takes only seconds and saves you from having to create a new one with all the events and settings.
You can import, test and see results within minutes. If the contact plan is exactly what you want,
you're done. If not, you can modify it, or delete it and import another very quickly. We will also
cover importing multiple contact plans at once.
You can get contact plans from several sources:
- Collect! allows you to import contact plans from your databases and from other sources, such
as other users or from Comtech's Technical Services department.
- The Demonstration database in Collect! contains many sample contact plans. You may wish to
import several of these into your Masterdb database.
- When you email Collect! Technical Services concerning an issue with the way a contact plan
works, we might email you a contact plan to resolve the issue.
To use these contact plans, you import them into your database. A contact plan has a
*.cpl extension. It is a special Collect! file and is not meant to be opened or
used by any other program.
Is the contact plan file attached to an email from Comtech Systems? Then please
save this attachment to a location on your computer where you know you will be able to find it.
For example, save it to your Desktop.
When you have the contact plan saved on your computer and you know where to find it, proceed with
the steps below to import your contact plan into Collect!
- Sign into Collect! as you would normally and select System from the top menu
bar. This will display a list of choices.

System Menu Choices
- Then select Contact Management Settings. This will display an additional sub-menu. From the
sub-menu, choose Import Contact Plan.
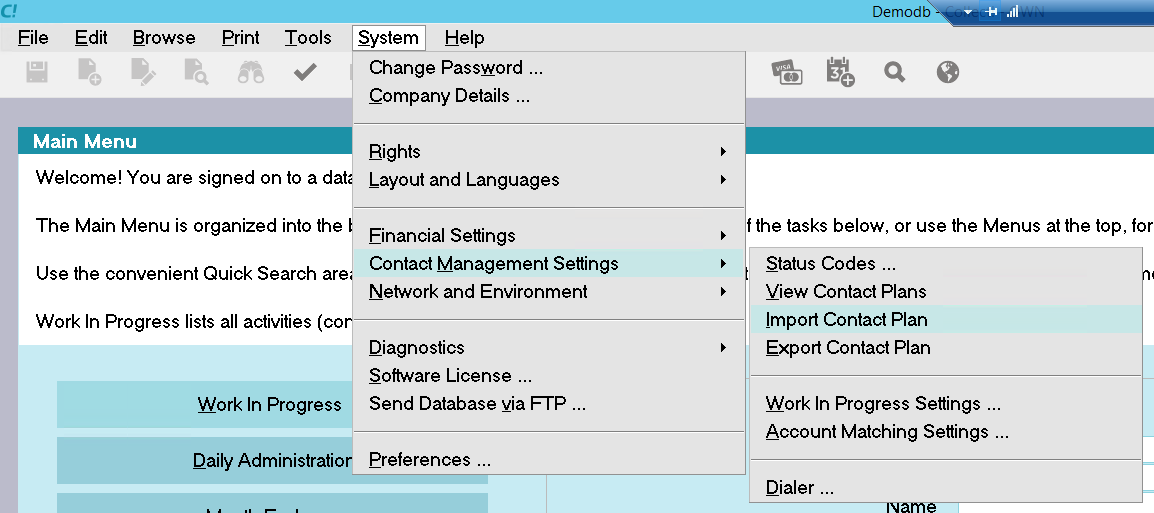
Contact Management Sub-menu
- The Import Collect! Contact Plan dialog pops up.
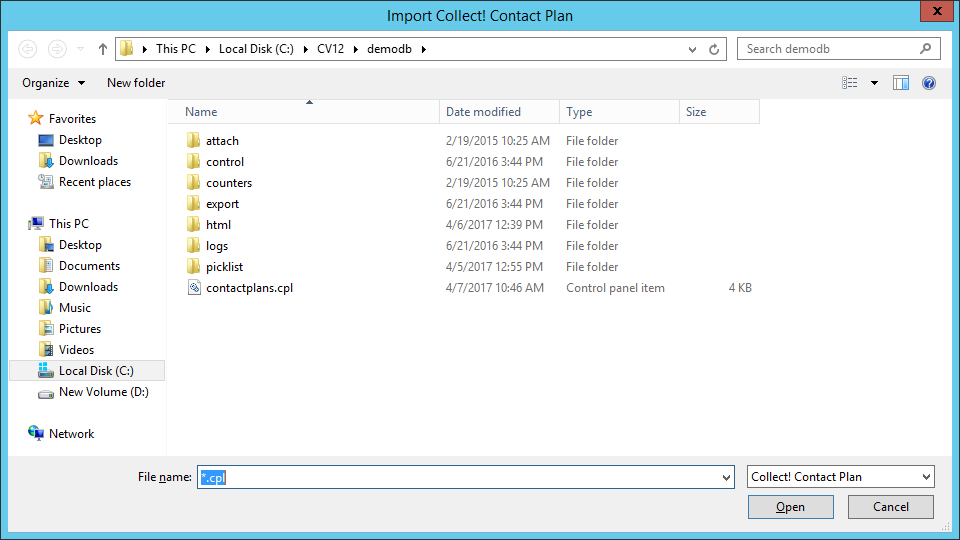
Import Collect! Contact Plan Dialog
- Use this window to locate your contact plan file. If you know the location and name, you can
type this into the File namebox. Or, you may use the down arrow next to the
Look In: box to navigate to the Desktop, or to the folder where you saved
your *.cpl file. When you see your *.cpl file, click on it and the name will appear in the
File name box.
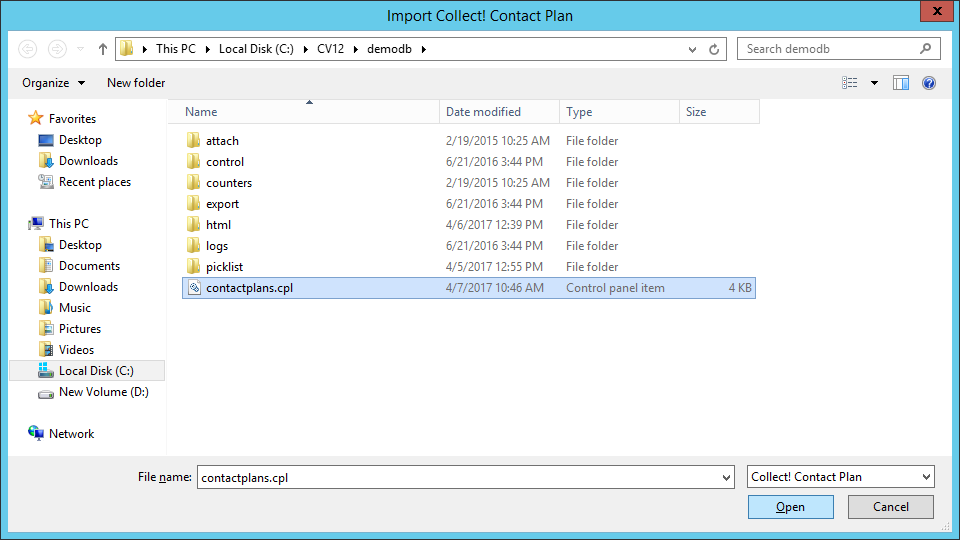
Contact Plan To Import
- Select Open to import the contact plan. Your contact plan will be imported
immediately and a message will show the name of the contact plan you just imported. This is
the contact plan's Code.
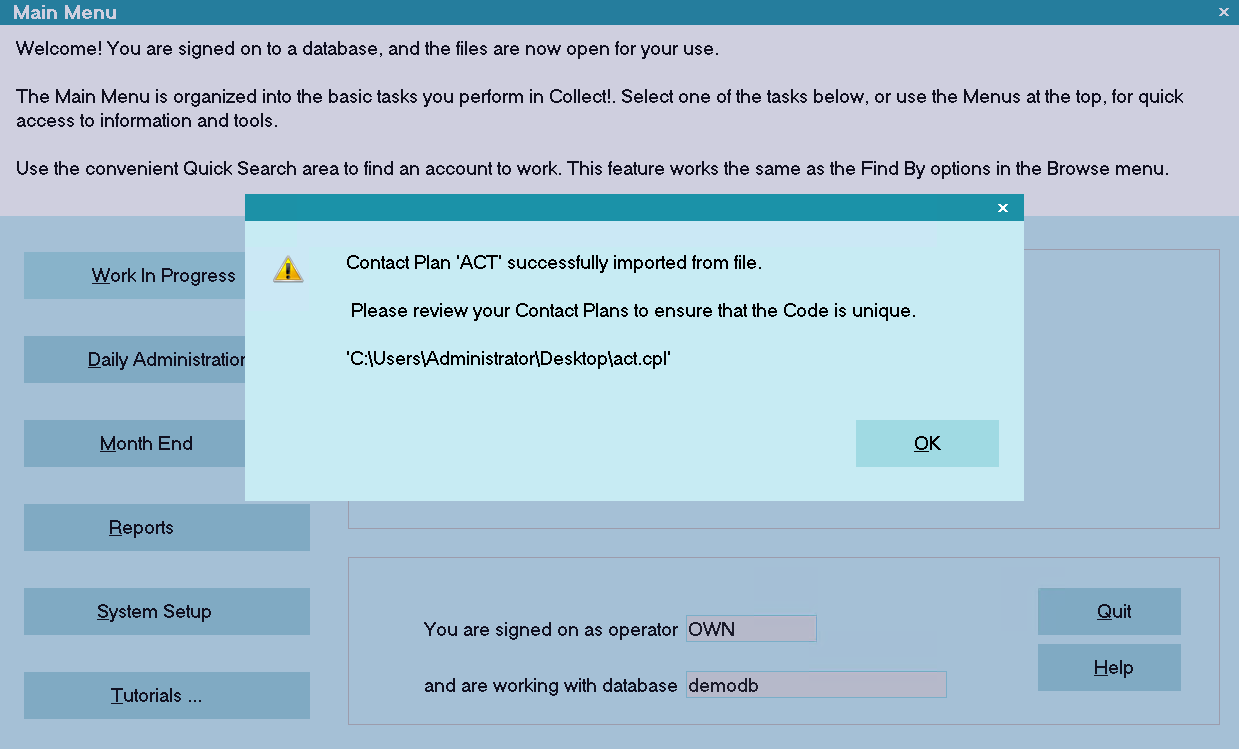
Contact Plan Import Success
Please make note of the contact plan's Code. This is the code that you will use to locate it in the
Contact Plan list.
- Select OK to close the window.
- Now try out your newly imported contact plan to make sure the output is what you expect.
 If you have imported a contact plan that has other contact plans as events, make sure you
import any other necessary contact plans into your Collect! system.
- Depending on where in the system you want your contact plan to run, open the appropriate form
and choose your new contact plan. For instance, if this contact plan will be run from a Debtor
form, you can open a debtor, click the Action button and pick your contact plan from the
Contact Plan list that displays.
- It is recommended that you try out your contact plan before using it for actual processing.
You may need to set up a test situation to try it out.
Import Multiple Contact Plans
If the contact plan file you are importing has several contact plans in it, Collect! will import them
all and inform you that importing the plans was successful.
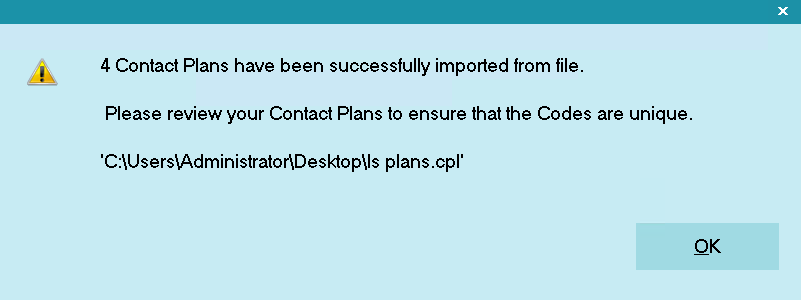
Success Importing Multiple Contact Plans

| 
Was this page helpful? Do you have any comments on this document? Can we make it better? If so how may we improve this page.
Please click this link to send us your comments: helpinfo@collect.org